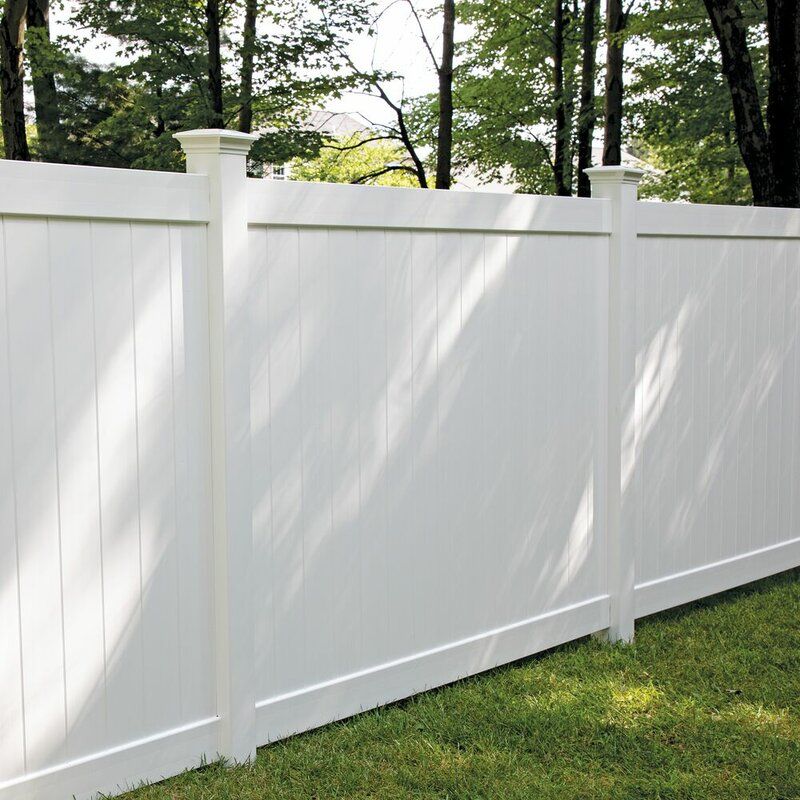
Part 1: Vinyl fence repair
Cracked vinyl fence panels
The signature vinyl repair. A mower-thrown rock, a fallen branch or a car bumper cracks a panel — and vinyl gets more brittle in cold weather, so winter impacts crack panels that would have flexed in July. Your options, honestly assessed:
- Hairline cracks and small holes: a vinyl repair kit (filler plus color-matched finish) can make small damage nearly invisible. Cheap and worth trying first.
- A cracked picket or panel section: replace the damaged piece. On tongue-and-groove privacy panels, unlock the section from the rails, slide the damaged picket out and the new one in. You need an exact profile and color match — sun-faded older fences may need the replacement weathered or the whole section replaced to blend.
- Shattered panel: replace the full panel between the posts. Panels are sold as kits matched to the post spacing. If your fence's brand is discontinued, a fencing supplier can sometimes match the profile; otherwise the section gets rebuilt.
Leaning vinyl fence
Vinyl panels are light, so a leaning vinyl fence almost always means a post footing failed — the same diagnosis as our leaning fence guide: check whether the concrete collar cracked, the hole was undersized, or the post itself snapped at the base. Hollow vinyl posts often hide a wood or aluminum insert; if the insert rotted or bent, replace it. Re-set the post in a proper concrete footing before re-hanging panels, or the lean returns.
Loose posts and popped rails
Vinyl rails snap or screw into routed post holes. A rail that keeps popping out usually means the post moved (see above) or the rail's locking tabs are worn or broken. Re-seat the post first; replace a rail with damaged tabs rather than gluing it — glue joints on vinyl flex, crack, and fail in the first storm.
Vinyl gate issues
Vinyl gates sag because the gate leaf is wide and the hinges carry it all on one post. Fixes: tighten or upgrade the hinges (self-closing, adjustable hinges are standard on pool gates), add the manufacturer's internal gate brace, and make sure the gate post is the reinforced one — gate posts should have an aluminum insert or a concrete-and-rebar core. A gate post that flexes is a post job, not a hinge job.
Stains, mold and discoloration
Vinyl cleans well: soap, water and a soft brush handle most grime, and a diluted bleach solution handles mildew in shaded spots. Rust stains from sprinkler water usually lift with a vinyl-safe cleaner. What you can't fix is chalking or fading across an old fence — at that point it's cosmetic aging, not damage.
Vinyl repairs live or die on the match
Profile, color and brand all have to match. If yours is discontinued, a pro's supplier network may be your only route — here's how to weigh DIY vs. pro.
Part 2: How to install a vinyl fence
Vinyl fencing installs as a system, panel by panel. The sequence below is the standard one; the general build guide covers permits, property lines and layout in depth.
-
Check the rules and lay out the line
Confirm the property line, fence height limits, permit and HOA requirements, and call 811 before any digging. Vinyl comes in fixed panel widths (commonly 6 or 8 feet), so lay out post positions to the panel size — vinyl can't be stretched or squeezed to fit an odd gap the way wood can; plan the short section at a corner or gate.
-
Dig holes and set the posts in concrete
Dig to the depth your frost line and fence height require — about a third of the post in the ground is the usual rule. Set posts one panel apart, pour concrete around each, plumb and brace, and let it cure. Many installers set posts and build panels progressively along the run rather than setting every post first, because panel widths are unforgiving of spacing errors.
-
Insert the bottom rail
Slide the bottom rail into the routed holes in the first two posts until its locking tabs click. Bottom rails on privacy styles often hold an aluminum U-channel insert — that's the panel's backbone against wind; don't skip it.
-
Build the panel
Stand the tongue-and-groove pickets into the bottom rail one by one, locking each into the last, then cap the section with the top rail so it engages the second post. For picket styles, the pickets slot into pre-routed rails instead. Check the panel is level and the posts still plumb before moving on.
-
Repeat, then hang the gate
Work down the line panel by panel, stepping or racking sections on slopes per the manufacturer's method. Hang the gate on the reinforced gate post with adjustable self-closing hinges, set the latch height (pool codes specify this where they apply), and fit post caps — they're not just decorative; they keep water out of the hollow posts.
Vinyl fence questions, answered
Can a cracked vinyl fence panel be repaired, or must it be replaced?
Small cracks and holes can be filled with a vinyl repair kit and look respectable. A crack that runs across a picket or through the panel's structure means replacement of that picket or panel — vinyl under wind load flexes at the crack and it will spread. See the panel section above for how replacements work.
How much does vinyl fence repair cost?
Typical vinyl repair jobs run about $250–$800 professionally, with a panel replacement around $150–$400 for the panel itself and damaged posts roughly $200–$400 installed. Prices vary by region and by how hard your profile is to match — full ranges are in our fence repair cost guide.
Does vinyl fencing become brittle over time?
Older and lower-quality vinyl can lose impact resistance, especially in cold weather and harsh sun. Quality vinyl with titanium-dioxide UV protection holds up far better. If an older fence cracks at a touch, individual repairs may not be economical — that's a repair-vs-replace conversation.
Can I install a vinyl fence myself?
Yes — it's one of the more DIY-friendly systems because panels are light and pre-engineered. The demanding parts are layout precision (fixed panel widths forgive nothing), post depth, and concrete work. Many homeowners install straight, level runs successfully and hire out sloped or gate-heavy sections.