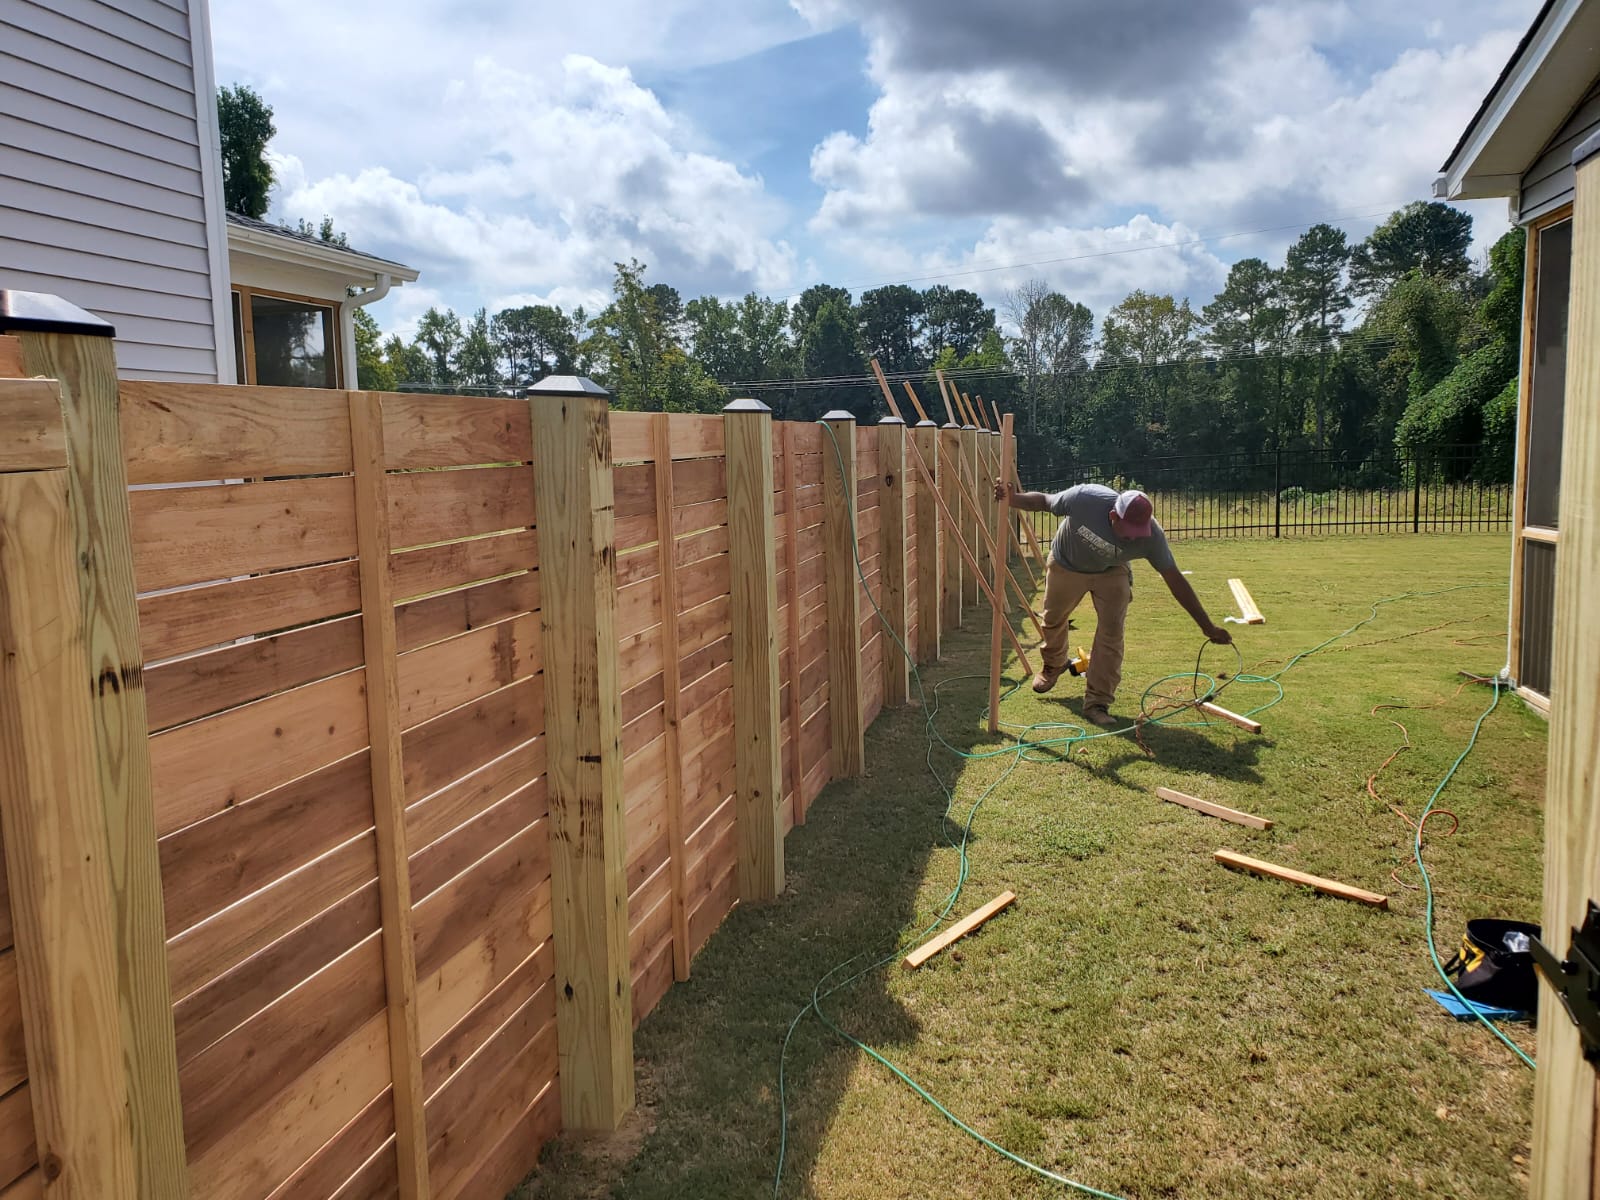
Part 1: Wood fence repair
Rotted posts
The number-one wood fence repair. Posts rot where they meet the ground, and a rotted post takes its whole section with it. Test with a screwdriver at ground level — if the blade sinks in, the post is done. Options, in order of permanence: a steel post mender driven alongside for a lightly-damaged post, or full post replacement (dig out the old footing, set a new pressure-treated post in concrete on a gravel base). The full job is walked through in our leaning fence guide, because a rotted post and a leaning fence are usually the same problem.
Broken pickets — how to replace a fence picket
The easiest repair in fencing. Here's how to replace a fence picket, start to finish:
-
Remove the damaged picket
Pry it gently off the rails with a flat bar, working from the back if you can. If it's screwed, just back the screws out. Save the old picket as your measuring template.
-
Cut the new picket to match
Use the same profile (dog-ear, flat-top or gothic) and width as its neighbors. Cut to the old picket's length. New pressure-treated wood is often a slightly different color — it weathers to match within a season or two.
-
Fasten it on
Align the top with the run's line (a level or a straight board across the tops helps), and drive two exterior screws or ring-shank nails into each rail. Screws hold better and make the next replacement easier.
Sagging rails
Rails sag when fasteners pull out of softening posts, or when a long rail span bows under the pickets' weight. Fixes: drive longer exterior screws through the rail into the post at a slight angle; sister a new rail alongside a bowed one; or add a mid-span support block. If the post the rail attaches to is spongy, that's a post repair, not a rail repair — fix the post first.
Leaning sections
A leaning wood section is a post problem nine times out of ten — rot, a shallow footing, or frost heave. Don't just push it straight and prop it: diagnose the post, then re-set or replace it. Full diagnosis and the concrete re-set are in How to Fix a Leaning Fence.
Warped and cracked boards
Individual warped pickets can't really be un-warped — replace them. Surface cracks and gray weathering are cosmetic; a scrub and a fresh coat of stain or sealer every 2–3 years is the maintenance that keeps a wood fence at the long end of its lifespan range.
Wood repairs: mostly yes — with limits
Pickets, rails and one post are classic DIY. Multiple posts, long runs and boundary fences are where pros earn their fee.
Part 2: How to build a wood fence
Building a wood privacy fence is a well-worn process. Here's the standard sequence for a 6-foot stockade or board-on-board fence — the general How to Build a Fence guide covers planning and rules in more depth.
-
Plan, check rules, and lay out the line
Confirm the property line (a survey if there's any doubt), check local fence rules — height limits, setbacks, permit requirements — and your HOA's style rules. Talk to the neighbor on a shared line. Then run a string line along the fence path and mark post positions, typically 6–8 feet apart.
-
Call 811, then dig the post holes
Call 811 a few business days before digging so utilities are marked — free, and not optional in practice. Dig holes roughly 10–12 inches wide and deep enough to bury about a third of the post (about 2 feet for a 6-foot fence), going below the frost line in cold climates.
-
Set the posts in concrete
Add 4–6 inches of gravel at the bottom of each hole for drainage, stand the post, plumb it on two faces, brace it, and pour concrete, crowning the top so water sheds away from the wood. Work corner and end posts first, then run a string between them to keep line posts true. Let the concrete cure at least 24 hours before hanging rails and pickets.
-
Hang the rails
Fasten two or three horizontal 2×4 rails between the posts — top, middle (on 6-foot fences) and bottom — keeping them level and their faces flush so pickets sit flat. Butt rails into the post faces or between posts, consistently, the whole run.
-
Attach the pickets
Work along the rails with a spacer block for even gaps (or tight together for a stockade style that shrinks into small gaps as it dries). Check level every few pickets and follow the ground's contour or a stepped pattern on slopes. Leave about 2 inches of clearance at the bottom — pickets touching soil rot early.
-
Hang the gate and finish
Frame the gate square with a diagonal brace running from the low hinge side to the high latch side — that brace is what stops sag. Use three heavy hinges on a wide gate. Once pressure-treated wood has weathered a few weeks, stain or seal it; it's the single best thing you can do for the fence's lifespan.
Wood fence questions, answered
How do I stop wood fence posts from rotting?
You can't stop it forever, but you can slow it a lot: use pressure-treated posts rated for ground contact, set them on a gravel base so the end grain isn't sitting in water, crown the concrete so rain sheds away, and keep soil and mulch from piling against the post. Those four habits are the difference between a post lasting 10 years and one lasting 20.
How long does it take to build a wood fence?
For a typical backyard run of 50–100 linear feet, a first-time DIYer should plan on two to three weekends: one for layout, holes and posts, one for rails and pickets, plus gate and finishing time. A professional crew often completes the same fence in one to two days.
Is cedar or pressure-treated pine better for a wood fence?
Cedar resists rot and insects naturally and looks better, but costs noticeably more and is softer. Pressure-treated pine is cheaper and very durable against rot, but can warp more as it dries. Either is a sound choice; posts should always be ground-contact rated regardless of species.
How much does wood fence repair cost?
Individual pickets cost a few dollars each in materials. Professionally, a post replacement typically runs $150–$350 and most wood repair jobs land in the $150–$550 range, varying by area and extent of damage — see the full breakdown in our fence repair cost guide.